HTML Element
This element allows you to add generic HTML anywhere in your application. In HTML the following variables are available:
- “application” (Entity Application),
- “entity” (Entity HTMLElement)
- and “configuration”.
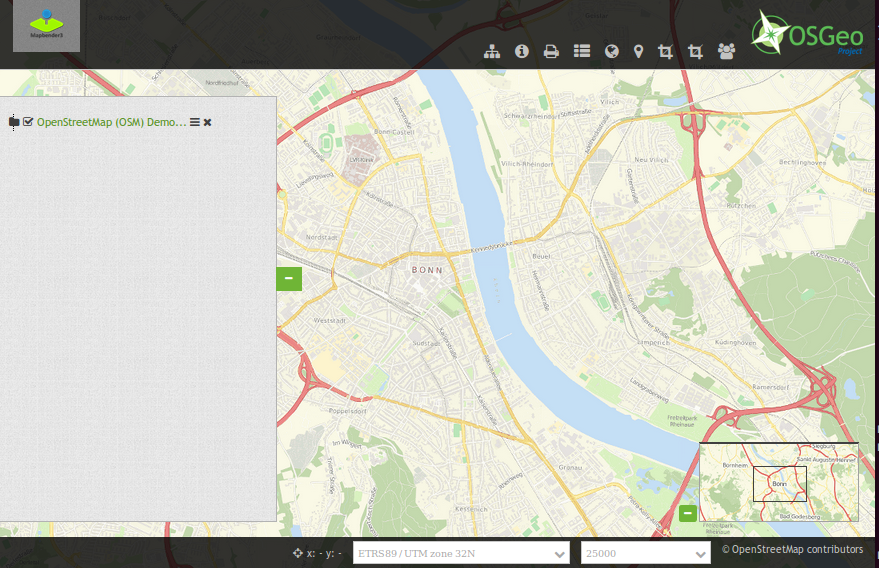
With these you can for example insert an image into the application.
Configuration
You might want to add an image to your application:
<img src='http://mapbender.org/sites/default/files/OSGeo_project.png' height='60px'>
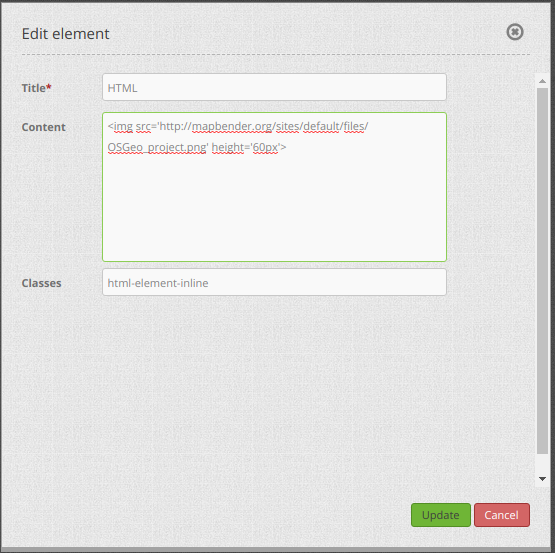
- Title: Title of the element. The title will be listed in “Layouts”. It will be indicated if “Show label” is activated.
- Content: Content of the HTML-element. The variables: “application”, “entity” und “configuration” are available in the content.
- Classes: html-element-inline, my-special-css-class
Configuration: Examples
Add a logo with a link:
It is possible to include several additional elements via the HTML-element. E.g., you might want to integrate a picture or logo. Moreover, you might want to add a plain text or picture element that refers to an external page via an included link. For this, it is important to know that you can include the HTML-element in several ways in your application.
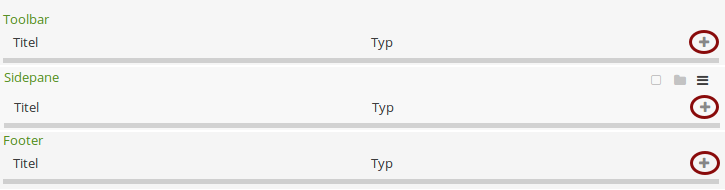
In the backend of your application, head over to the Layouts-tab. Then, simply add the HTML-element to the toolbar, the sidepane or the footer with a single click on the + -button.
The dialog “Add element - HTML” will pop up. In our example it looks like this:
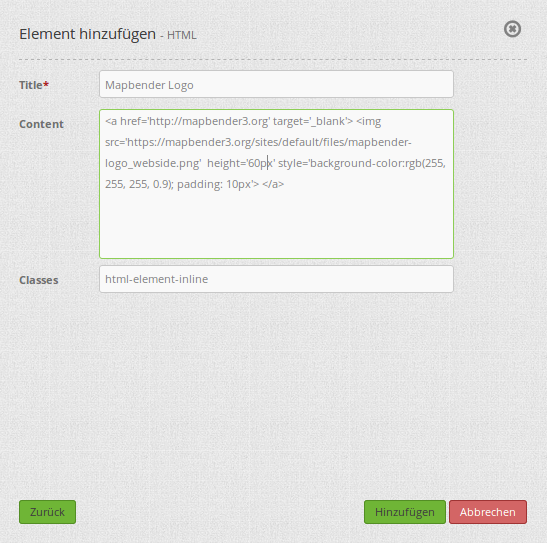
Let’s include a simple logo. We start by naming the title of the HTML-element: Mapbender Logo. In the content section, it is possible to write plain HTML-code. We refer to our element with the appropriate code. In the classes section, we stick to the default setting (html-element-inline). The HTML-code looks like this:
<a href='http://mapbender.org' target='_blank'>
<img src='https://mapbender.org/sites/default/files/mapbender_logo_website.png'
height='60px' style='background-color:rgb(255, 255, 255, 0.9); padding:10px'> </a>
As you can see, the mapbender logo is included as a picture in the code (img src='https://mapbender.org/sites/default/files/mapbender_logo_website.png'). In addition, a height (height='60px') and a styling is defined. Our styling (style=) includes parameters that define background-color with transparency (background-color:rgb(255, 255, 255, 0.9)) and the distance to the margin of the page, called (padding:10px). Moreover, we include a link to the official Mapbender web page (href='http://mapbender.org'). If you click on the logo, the website will load in a new browser tab (target='_blank').
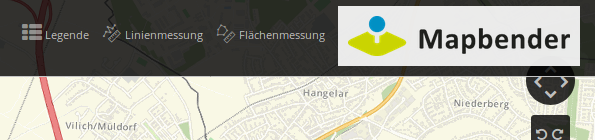
As mentioned, it is possible to include the HTML-element in several locations. Let’s look at the toolbar first:
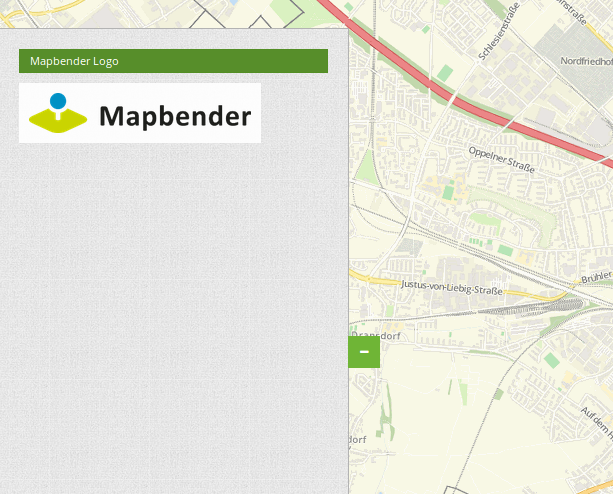
In the sidepane:
In the footer:

Add variables into a HTMl-element:
In Mapbender, it is possible to work with variables in applications. The following example is a simple introduction to this topic, as we show how to include the application title and the element title via the HTML-element.
Variable “application.title”
The application manager shows our application like this:

First, we add the HTML-element - as mentioned before, this happens by clicking the + -button. To integrate the title of your application into the element, the variable “application.title” is required.
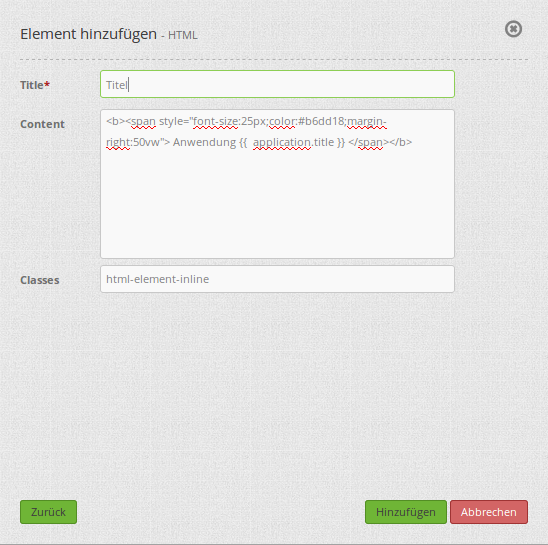
In this example, the title of the HTML-element is defined as “Title”. The content section uses the following code:
<b><span style="font-size:25px;color:#b6dd18;margin-right:50px"> Application {{ application.title }} </span></b>
To add a bit of spicyness, our application title also has the additional text “Application”. This additive is independent from the actual application title and is therefore set before the variable (i.e.: Application + application.title). The style block (style=) modifies the font size (font-size:25px), the font color (color:#b6dd18) and the title positioning (margin-right:50vw). Moreover, the letters are styled bold (<b></b>). As you might have guessed, the variable is mentioned in the following code: {{ application.title }} .
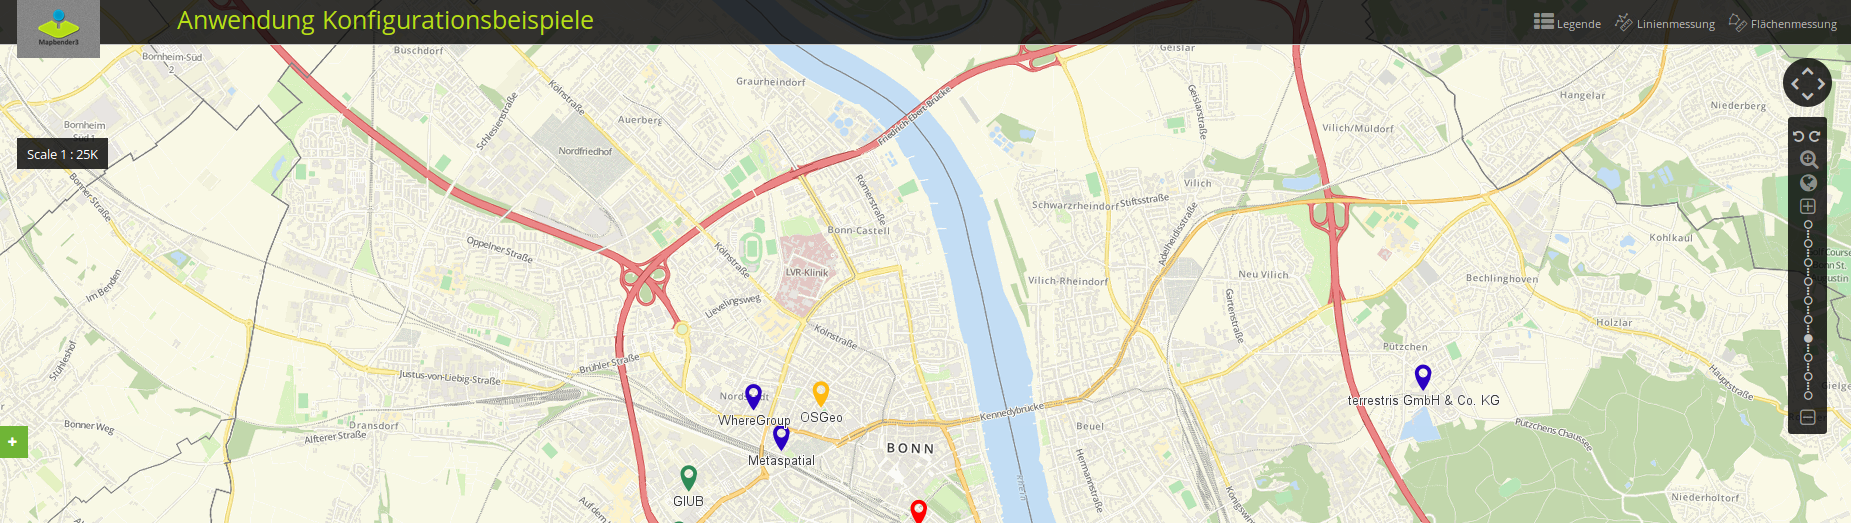
The outcome looks like this:
Variable “entity”
The variable “entity” includes parameters into the HTML-elements. For instance, if the variable {{ entity }} is integrated, the ID of the HTML-element is shown. If the variable {{ entity.title }} is integrated, the (HTML-)element title is shown in the application.
The configuration for the HTML-element “Title” and the variable {{ entity.title }} with the additional text “HTML-element” looks like this:
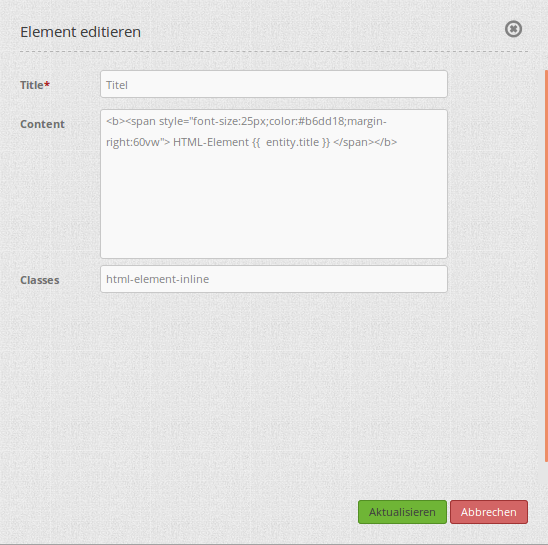
The styling is transferred from the first example (application.title). Only the additional text, variable and position (margin-right) were changed for entity.title.
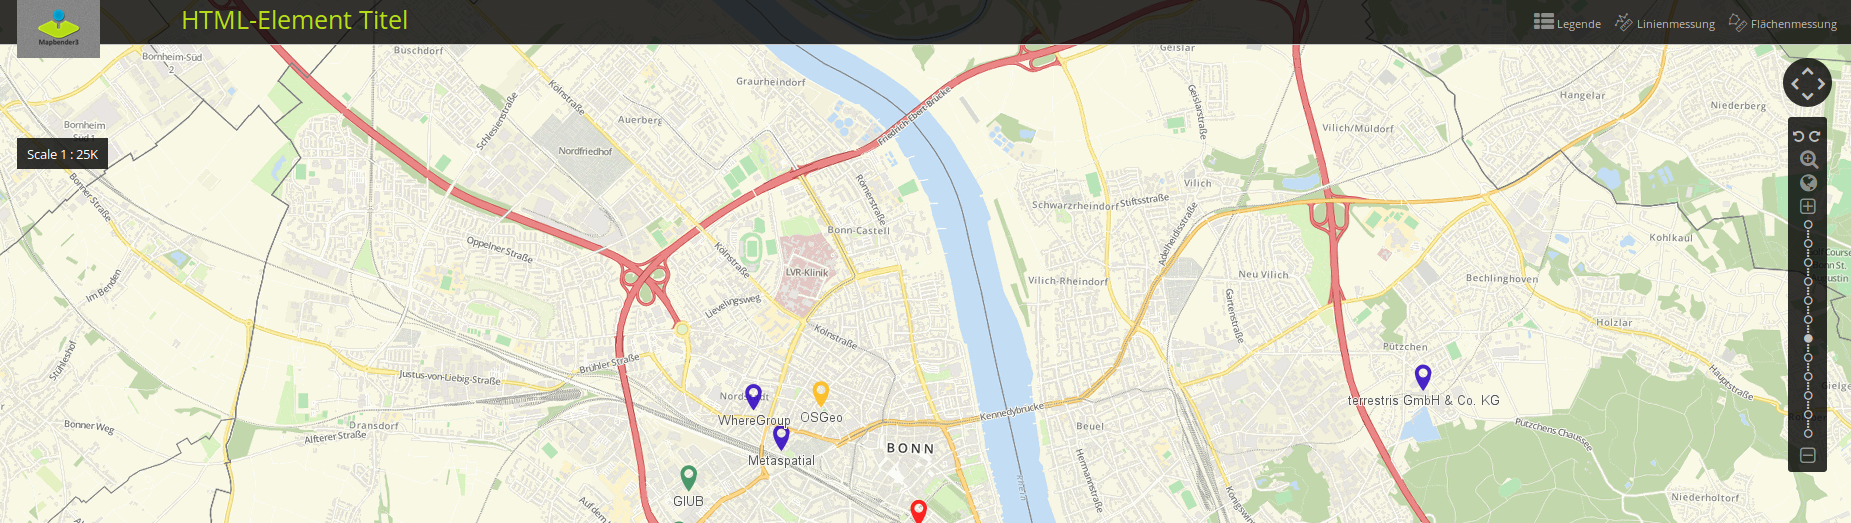
Finally, the element looks like this:
YAML-Definition:
title: 'HTML-Element'
class: Mapbender\CoreBundle\Element\HTMLElement
content: <p>Hello, World!</p><p>Application: {{ application.title |trans }}</p> # the variables: "application", "entity" und "configuration" are available in the content.
classes: my-special-css-class
Class, Widget & Style
- Class: Mapbender\CoreBundle\Element\HTMLElement
- Widget: mapbender.mbHTMLElement
HTTP Callbacks
None.
Examples
Add an image
<img src='http://mapbender.org/sites/default/files/OSGeo_project.png'>
Add an Link
<a href='http://mapbender.org' target='_blank'>Go to the Mapbender Website</a>