Security Concepts
Security as provided by the FOMUserBundle is anchored on these base concepts:
Rights management
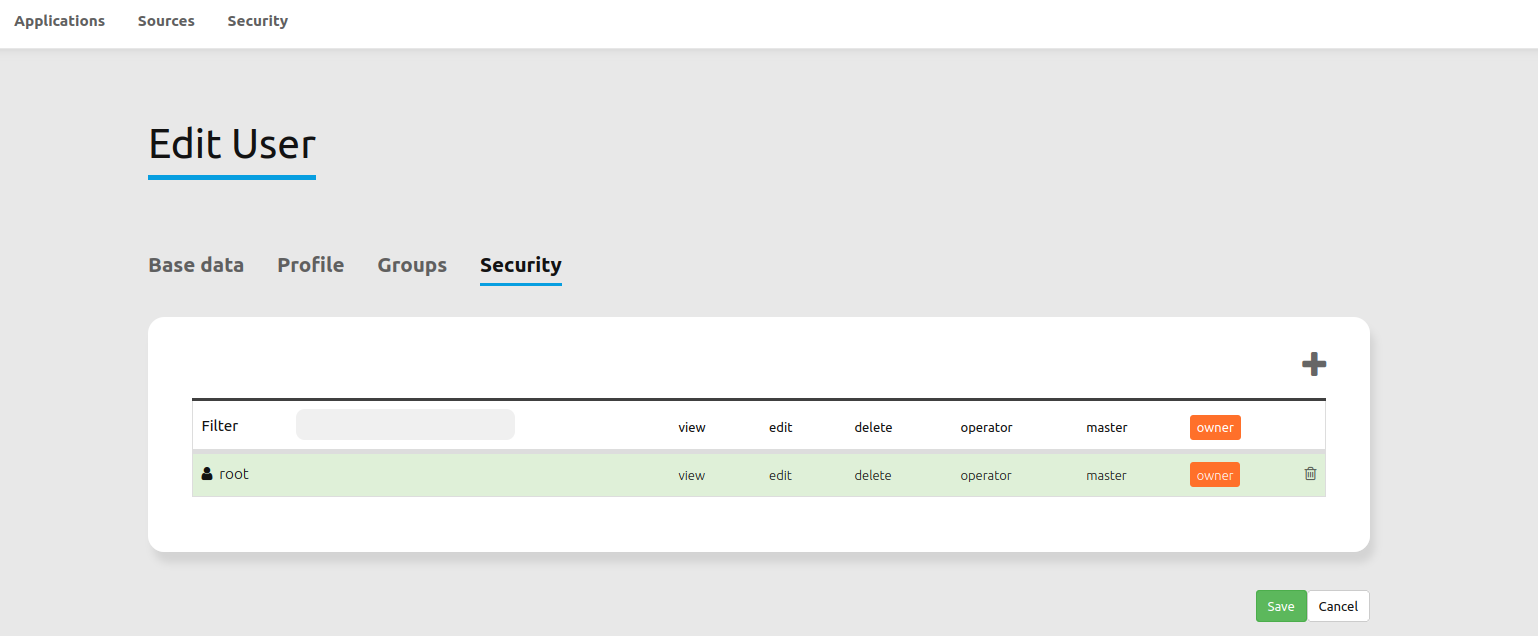
Mapbender provides different rights. They refer to the Access Control Lists (ACL).
view - Whether someone is allowed to view the object.
edit - Whether someone is allowed to make changes to the object.
delete - Whether someone is allowed to delete the object.
operator - Whether someone is allowed to perform all of the above actions.
master - Whether someone is allowed to perform all of the above actions and in addition is allowed to grant any of the above mentioned permissions to others.
owner - Whether someone owns the object. An owner can perform any of the above actions and grant master and owner permissions.
Assign roles to a user by Users --> Edit your User --> Security.
Assign an Application to a User/Group
Edit your application by
Application --> Edit-Button.Choose
Security.Publish or hide your application for everyone by clicking
Security --> public accessor in the application overview by clicking thePublishbutton.Alternatively and for an individual configuration, click the
Add users and groupsbutton and configure your selection. Then, set permissions like view, edit, delete, operator, master or owner via the rights table.Logout from Mapbender by
Logoutand log in again with a configured account to test the configuration.Another method would be to choose
Security --> Global Access Control Lists --> Applicationsto quickly set permissions for several users/groups to all applications.
Assign single elements to a User/Group
Per default, all elements are available to all users/groups that have permission to an application. It is possible to hide single elements from individual users/groups like this:
Edit your application by clicking
Application --> Edit.Choose
Layouts.Every element has a
ACL elementbutton (key). Choose theACL elementbutton from the element that should be only availale for selected users/groups.Now, add the users/groups via the
Add users and groupsbutton. Then, set permissions like view, edit, delete, operator, master or owner via the rights table.Test your configuration. For example, open the application with a user account that has (no) rights to a previously configured element.
Assign a user to another User/Group
Edit a user by clicking
Security --> Users.In the user administration, choose
Security.Give users/groups individual rights on the selected user: Add users/groups via the
Add users and groupsbutton. Thereafter, set permissions within the rights table.You have now assigned a user/group controlling options over another user account. Test your configuration with the entitled user accounts.
